
Hi everyone, Rahmat here, hope you all are having a great day. Today I am sharing a tutorial.
I am showing a paper weaving technique, its pretty simple.
I am showing two different types of weaves here, a plain weave and a basket weave.
For plain weaving:
You
will need paper strips of two different colors, the length and width
you can choose according to your project, there isn't any specific
measure for this, but has to be same for both colors.

Step by step:
1.
Line up the strips on your work-board, and secure with a scotch tape at
one end, we are working on the reverse side of the weaved pattern, the
front is facing down, so don't worry about messing it up ;)

2. lift 2 alternating strips

3. Slip in the other color strip here.

4. This time take another set of alternating strip, the one next to the previous one, and slip in the other color strip.

5.
Continue till you reach your desired length of the weave, and once
done, trim the excess trips and keep about 1/2" strip, so that we can
secure it.

6. Secure the ones, which you can fold in first, you can use a double sided tape, or a glue stick to do this.

7. Lift the left over strips and apply the adhesive to secure it in.

8. Once you are done, turn over the weaved pattern, this is your front, trim the excess strips.

9. Done your pattern is ready to be used for your project.

Here is a card I made using a plain weave.

--------------------------------------------------
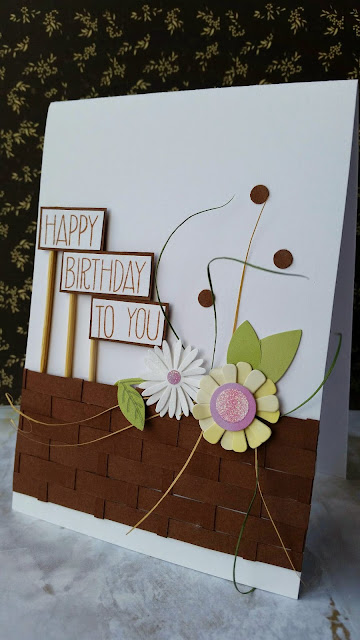
Basket weave
You will need paper strips of different width here, one is wider than the other, but same color strips.
1. Secure the wider strips to the board with a scotch tape.

2. Follow the weaving procedure we did earlier for the plain strips.

3.
The second strip need to be bit far away from the first one, to give a
basket weave look, I would say at least 1/2 - 3/4" away from each strip.

4. Finish up the length of your weave
 1
1
5.
Secure in the same way we secure the previous strip, but here I don't
secure the wider strip ends, I adjust it with my project and secure it. I
mostly make cards, so the length differs from card to card.

---------------------------------------------
Eye Candy
This card is another kind of weave, totally different from what I
showed just now....will add a tutorial if anyone is interested.


I
hope you have enjoyed this T time, and I really hope I had inspired at
least one person with this tutorial. I look forward to your comments!

superb Tutorial Rahmat!
ReplyDeleteLovely tutorial Rahmat and beautiful creations by this technique.. :)
ReplyDeletePretty!
ReplyDeletegreat technique.. thanks for sharing
ReplyDeleteSuper awesome...I never could get the hang of weaving you make it look so easy!!
ReplyDeleteCheers
Dr Sonia
Cards Crafts Kids Projects
great, thanks for tutorials...
ReplyDeletebeautiful cards and great tutorial rahmat
ReplyDeletewow awesome cards & tute :)
ReplyDeleteThank you for the wonderful tutorial Rahmat.... I am going to try the basket weaving soon...
ReplyDeleteWow!! Great job Rahmat. Fantastic tutorial n lovely cards...Specially the basket weaving card. :)
ReplyDelete